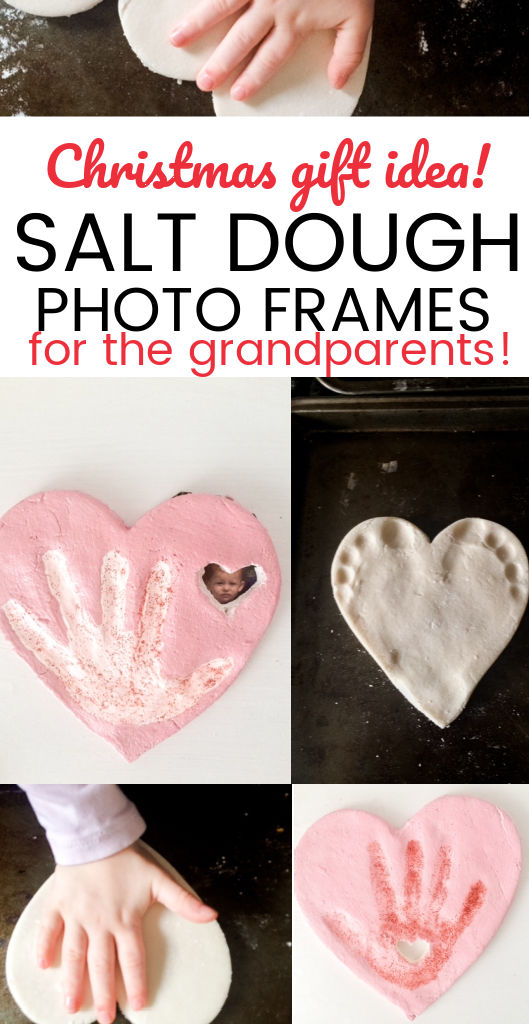
Heart-Shaped Hand Print Photo Frames
These hand print photo frames are a great craft for holidays such as Valentine’s Day or Mother’s Day.
They are also a perfect Baby’s first Christmas ornament idea if you add a small hole to add a ribbon.
They make great gifts for grandparents too!
I always like to give them something handmade instead of a store -bought card and of course, the family just love receiving little things from the children.
This craft is super easy and can be made in a day (if you choose to bake the salt dough), I did a hand print version and a footprint one just for fun.
If you have a young baby, a footprint is probably the way to go as they tend to scrunch up their little fingers.
This page contains affiliate links meaning I earn a commission if you use those links. Please read my Disclosure for more information.
RELATED POSTS
25 Cute Valentine Snacks For The Classroom
Valentine’s Day Activities For Toddlers
Salt Dough Recipe
1 cup of table salt
1 cup of flour
0.5 cups of water (keep adding until you get the consistency of dough you want)
Instructions for Hand Print Photo Frames
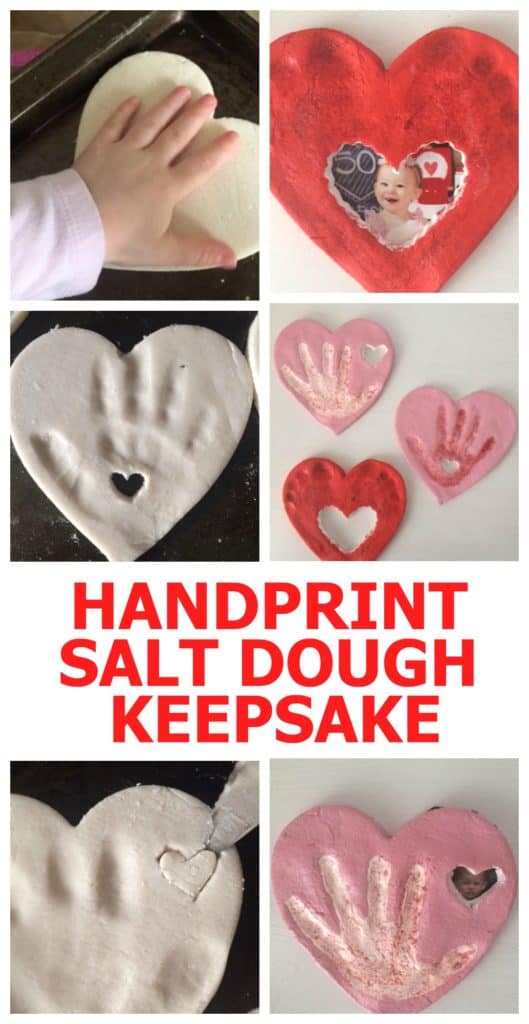
These hand print photo frames are so easy to make and you can make a whole bunch very quickly, making them really easy and unique Valentine’s gifts or even “cards”.
I made different types of frames using various cookie cutters but you could make them all the same if you prefer.
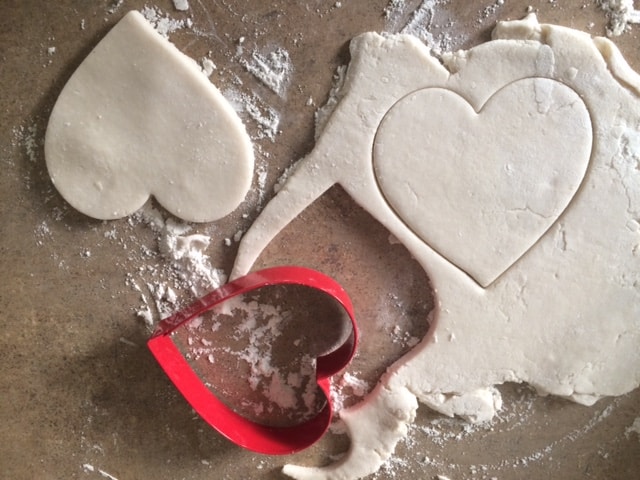
Mix the ingredients above and roll out the dough as though you were making cookies. The dough should be about 1/4 inch thick.
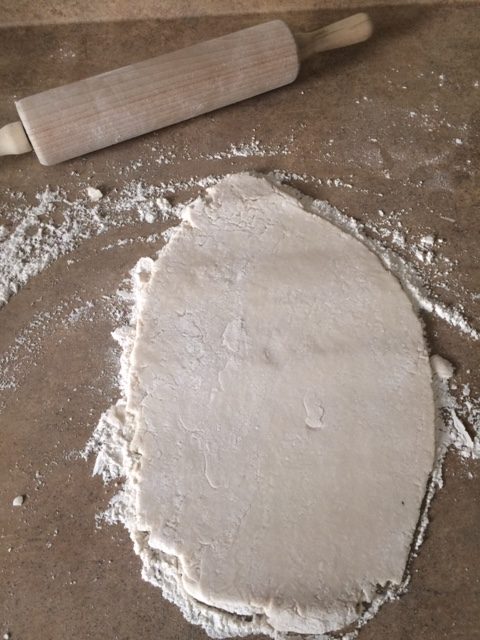
Using a heart-shaped cookie cutter or a knife, cut out hearts from the dough.
Make sure they are large enough to fit a child’s hand or footprints. I used the Wilton Nesting Heart Cutter Set
Place the cut outs on a cookie sheet and either get hand or footprints on each one.
For the footprints, I find it easier to put the sheet on the floor and get the child to step on the dough.
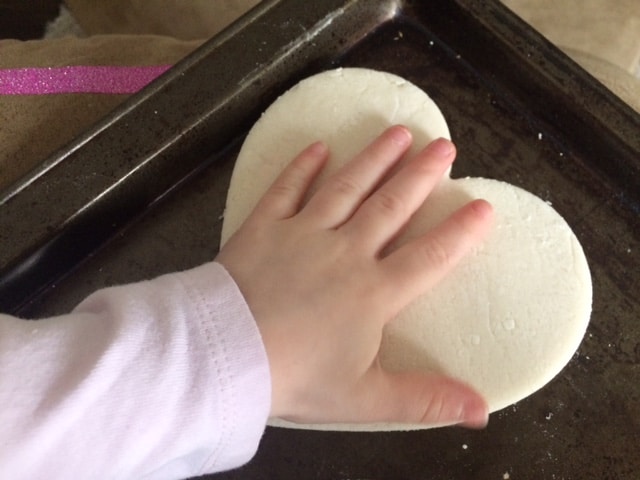
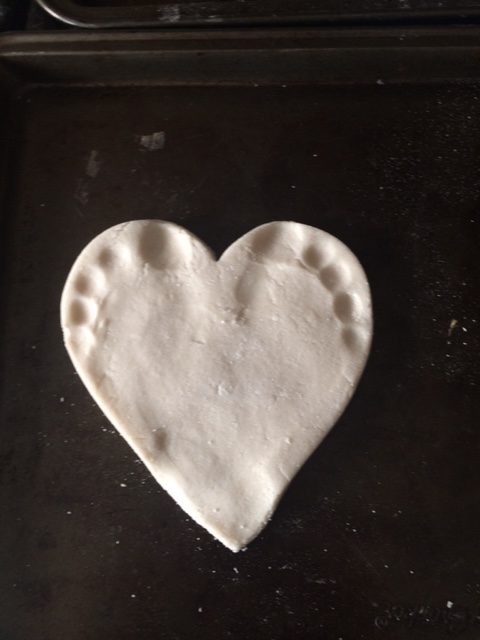
You can then use a smaller cookie cutter or a knife to make the hole for the photo.
If you want to hang your photo frames up, make sure to use a straw to make a small hole at the top of your heart.
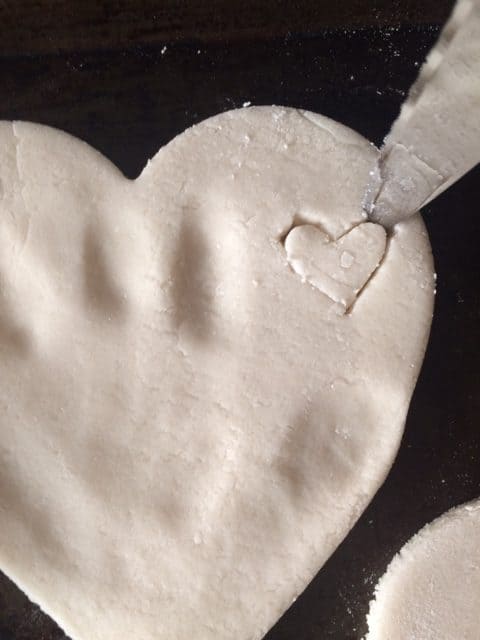
Once you have made the prints how you want them, bake the dough at 250 F for 1.5 hours or until dry.
Make sure you flip the hearts halfway through. Keep an eye out as they will crack if left in the oven for too long.
Alternatively, you can put them on a cookie sheet in a cool, dry place for a day or two, turning once or twice.
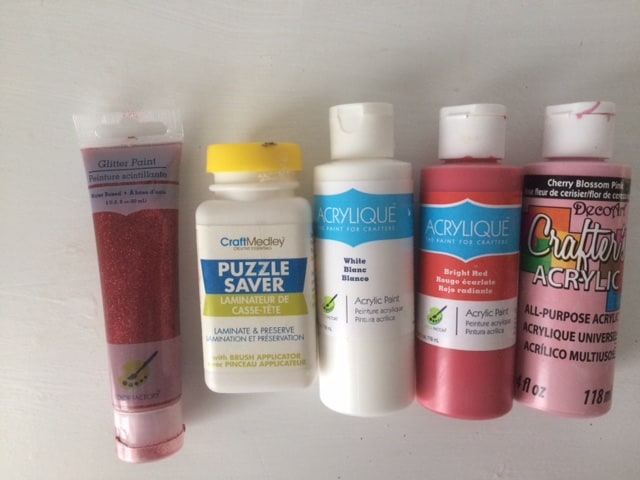
Once the hearts are dry, it’s time to paint them. I used acrylic paint and glitter paint for my ornaments.
After the paint is dry, you can seal with either ModgePodge or puzzle saver laminator.
All my supplies are from the craft section of Dollar Tree.
Lastly, add your photos either by fixing them inside the frame or gluing them to the back.

Check out my other gift ideas & crafts here:
The Very Hungry Caterpillar Footprint Craft
The Best Gifts for Little Princesses
