How To Refinish And Modernize Your Oak Stairs
Have you ever thought about refinishing your oak or builder grade stairs?
It can really add value to your home as well as bringing it up to date in one not so easy step!
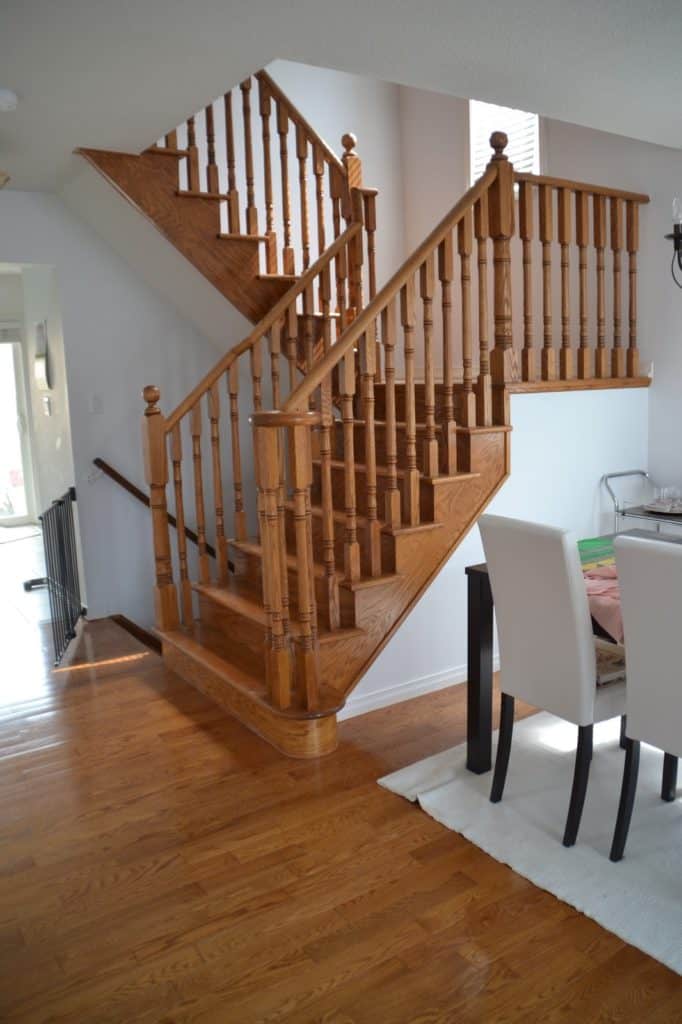
When we first came to see this house with the realtor, I remember saying “Wow, I don’t like the color of the hardwood”.
At the time, I convinced myself that I would get used to it but after a couple of years, the orange everywhere was becoming too much.
It screamed 90’s decorating even though the house was built in 2008 and overall just made all my furniture look mismatched.
This page contains affiliate links meaning I earn a commission if you use those links. Please read my Disclosure for more information.
Last summer I got a few quotes to refinish the stairs and floors. The floors were no problem but contractors either refused to quote for the stairs or the prices were astronomical ($5-7000). We ended up getting a professional to do the floors as I didn’t feel comfortable wielding the larger sander but I took the stairs on as a personal project.
And what a project it was.
Things you need for this project:
1. Orbital sander with a lot of pads (40, 60, 80, 120 grit) and sandpaper sheets in various grits
2) Zinsser Bulls Eye 1-2-3 Primer


3) Minwax Wood Finish Penetrating Stain, quart, Dark Walnut
4) Minwax Fast Drying Polyurethane Clear Finish, quart, Satin


5) White paint for the spindles
6) Minwax Polyshades – Stain & Polyurethane in 1 step, 1/2 pint, Tudor, Satin


7. The patience and perseverance of a Saint. This is a never-ending job.
First I sanded everything.
If you are painting the spindles and risers white, you can just do a rough sand which saved a lot of time.
Getting down to the raw wood between the spindles is really hard.
I was literally bleeding from hitting my hand against the spindle edges so many times.
I then stained the banisters and the treads. My big issue was that I just couldn’t get to the raw wood between the spindles so the stain didn’t take as well there. I finally found a solution below.
After everything is stained, apply 2-3 coats of poly to seal the stairs. the Minwax poly is good because it dries in 20-30 minutes.
Then I taped everything in preparation for painting…. that took hours in itself.
I then did two coats of primer on the risers, trim and spindles.
After that, I did two coats of paint. I had 57 spindles and on average it took about 10 minutes per spindle. 57 x 10 x 4 coats….. you get the picture…
Once it was completed, I really wasn’t happy with the color of the treads between the spindles.
Google gave me the idea of trying the Minwax Polyshades product but the hard thing is that they do not have the same shades as the regular stains which seems a bit odd.
I tried Royal Walnut but it is has a lot more red pigment than the Dark Walnut.
I had some leftover of the Tudor shade in the garage so I tried it and bingo!
It’s a perfect match if you only do one coat.
I ended up doing a coat of the Polyshades on all the stairs and then one more coat of regular polyurethane.
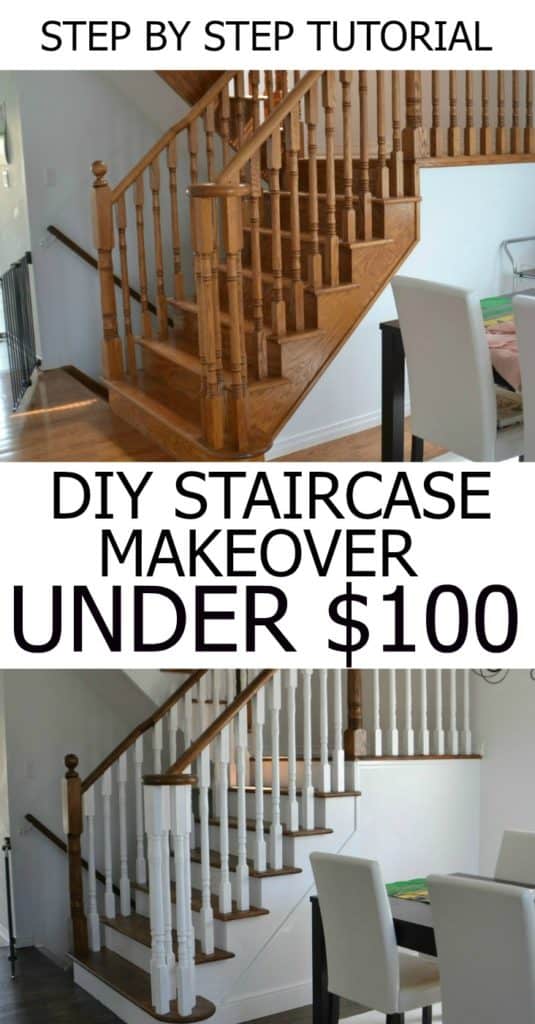
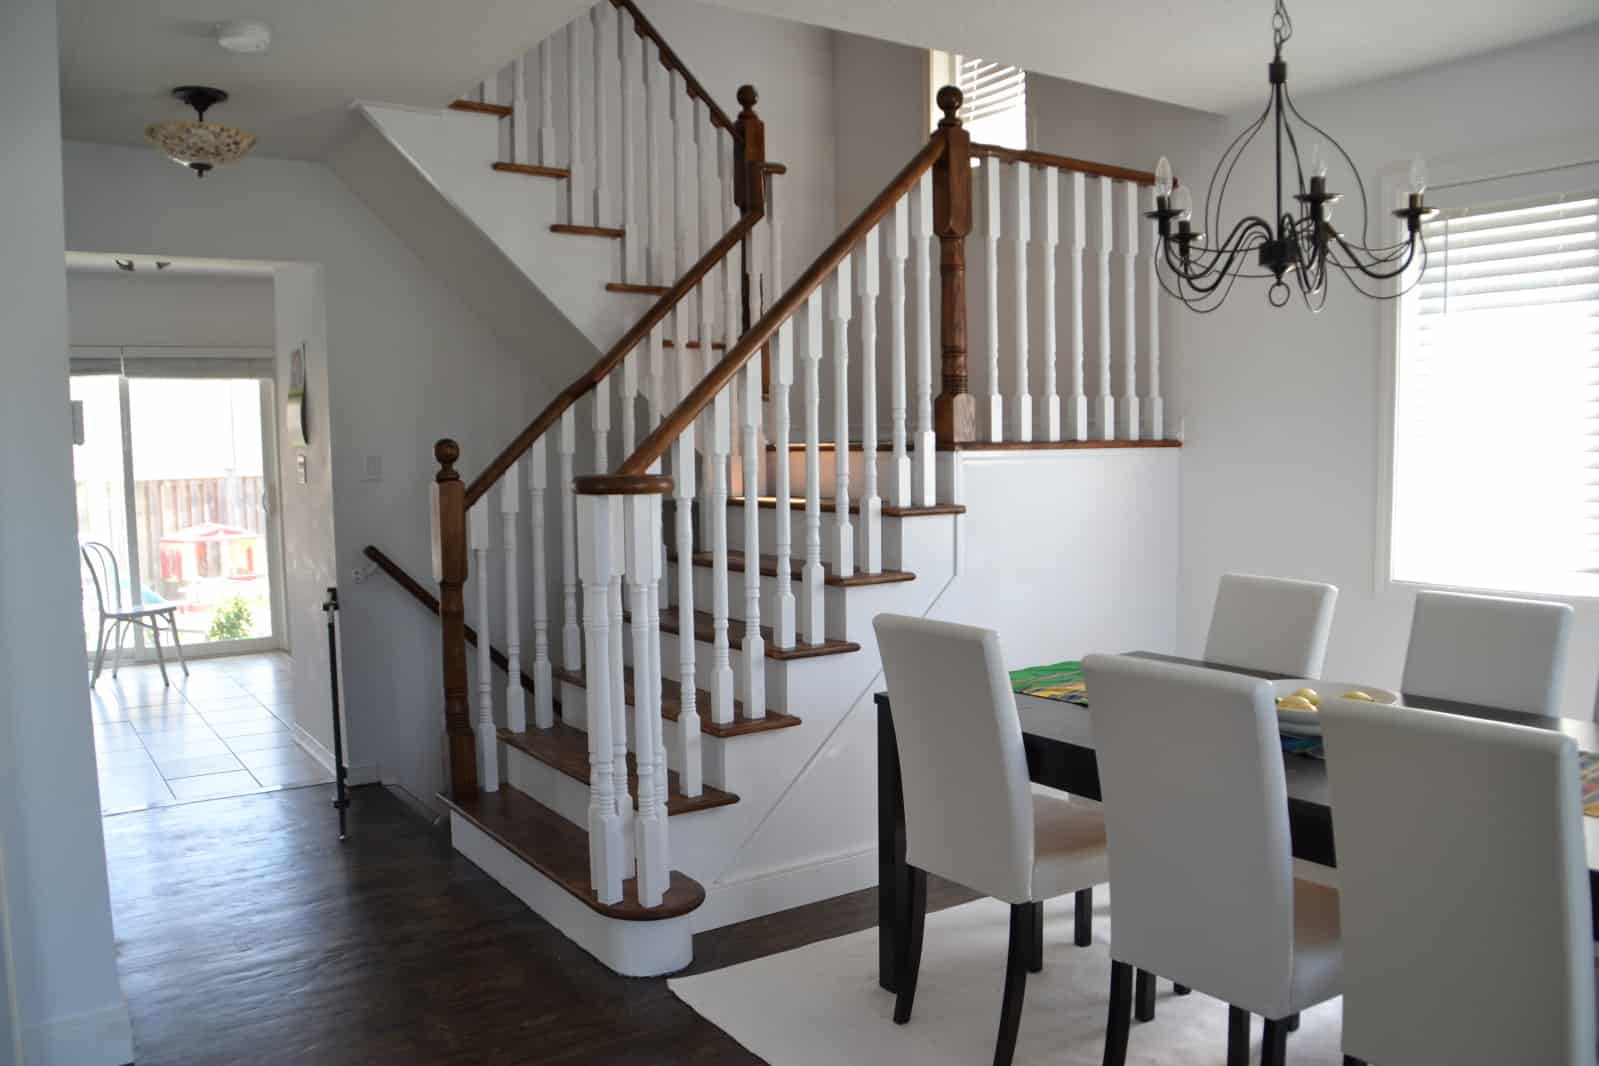
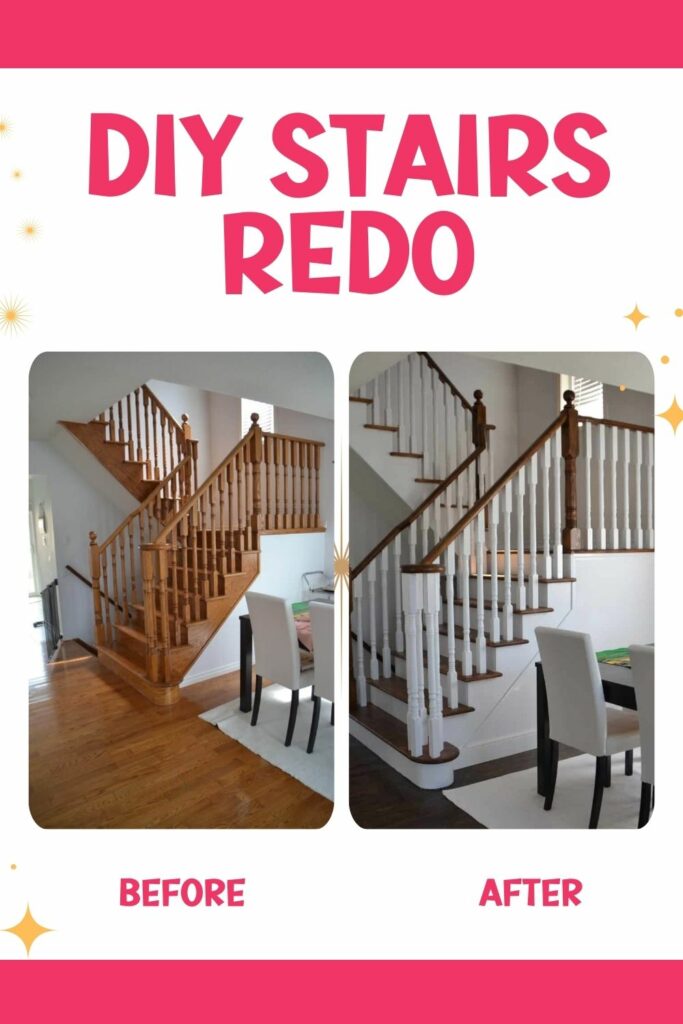
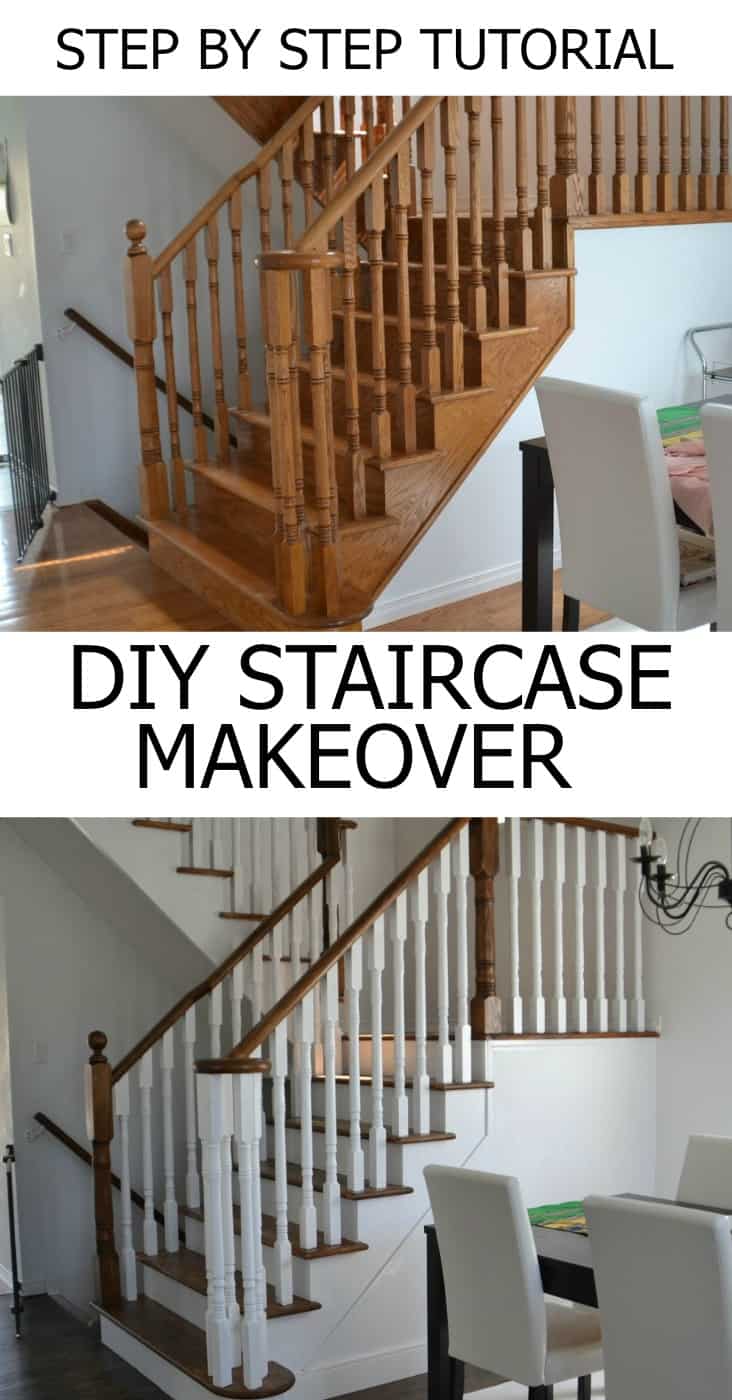
And the stairs are finally done! What a difference!
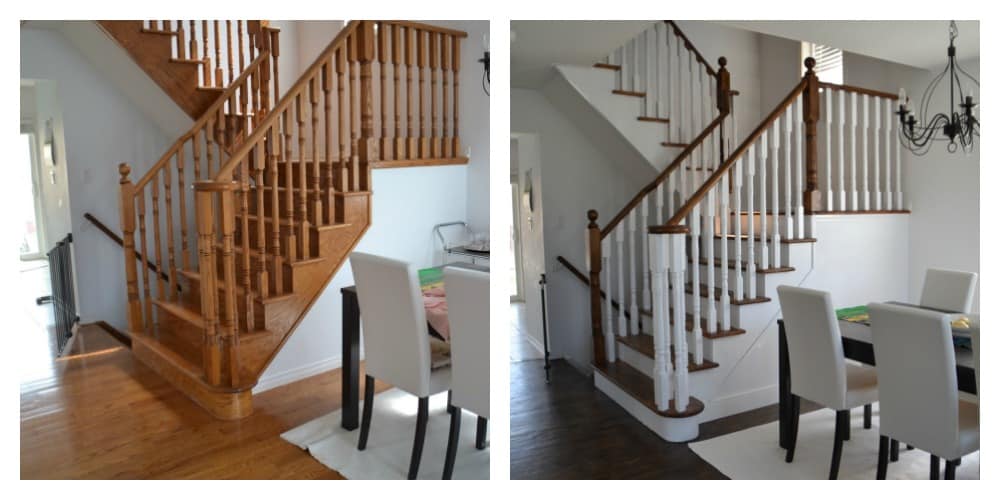
And here’s a side by side so you can really see the difference:
All in all, I’m really happy with the result of all my hard work, I get compliments all the time on the stairs and the floors.
That being said, I am so glad I never have to sand another spindle!
Have you tried this project? Let me know how it went for you.



I did this as well and it is beautiful Except the outer stringer is streaky and am curious what you did to get a smooth finish?????
Hi Paula, I didn’t find it too easy to get around the edges and avoid stringiness so where I had a issues, I used the Minwax Polyshades to make it look smoother. Hope that helps and that I understood your question properly.
Beautiful job. I got a quote for $1000 for just the spindles….not including material. What do you think? I don’t need steps done