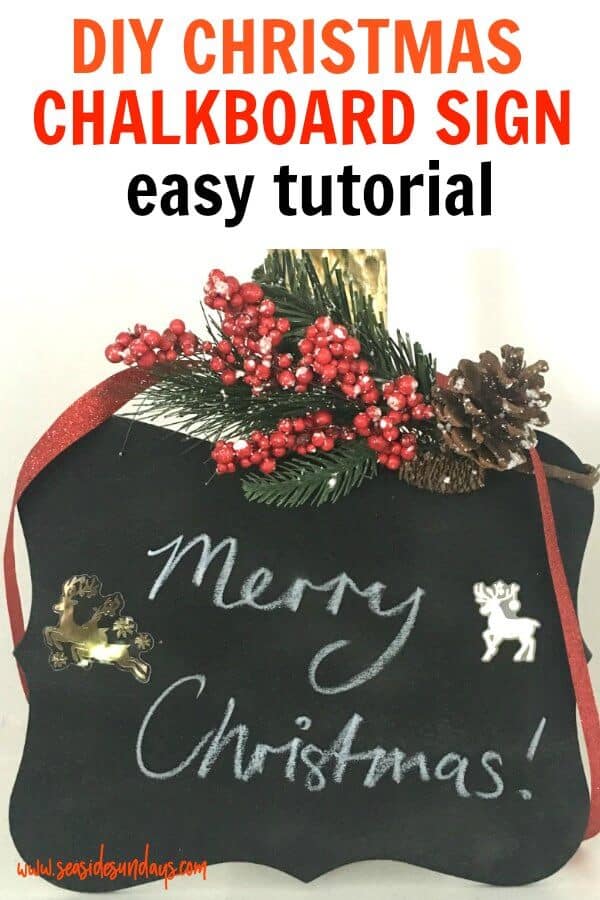
How To Make A Chalkboard Sign For Christmas
You’ve probably seen those signs all over Pinterest and at craft fairs but have you wondered how to make a chalkboard sign for yourself? It’s easy!
You don’t have to pay $30 for your own sign because they are really easy to DIY using items from the Dollar Store. The Tutorial below cost me less than $10 to make and only took thirty minutes (less drying time).
**I was compensated for this post. This post also contains affiliate links and I will be compensated if you make a purchase after clicking on my links.
MORE CHRISTMAS FUN
Free Printable Letter To Santa Templates
10 Ways To Control Your Holiday Spending
How To Make A Chalkboard Sign
For this simple chalkboard sign, I got almost everything I needed at Dollar Tree (except the chalkboard paint) which made it a frugal craft as well as an easy one!
You may not be aware but you can order online at DollarTree.com if you don’t have a store near you.
What You Need
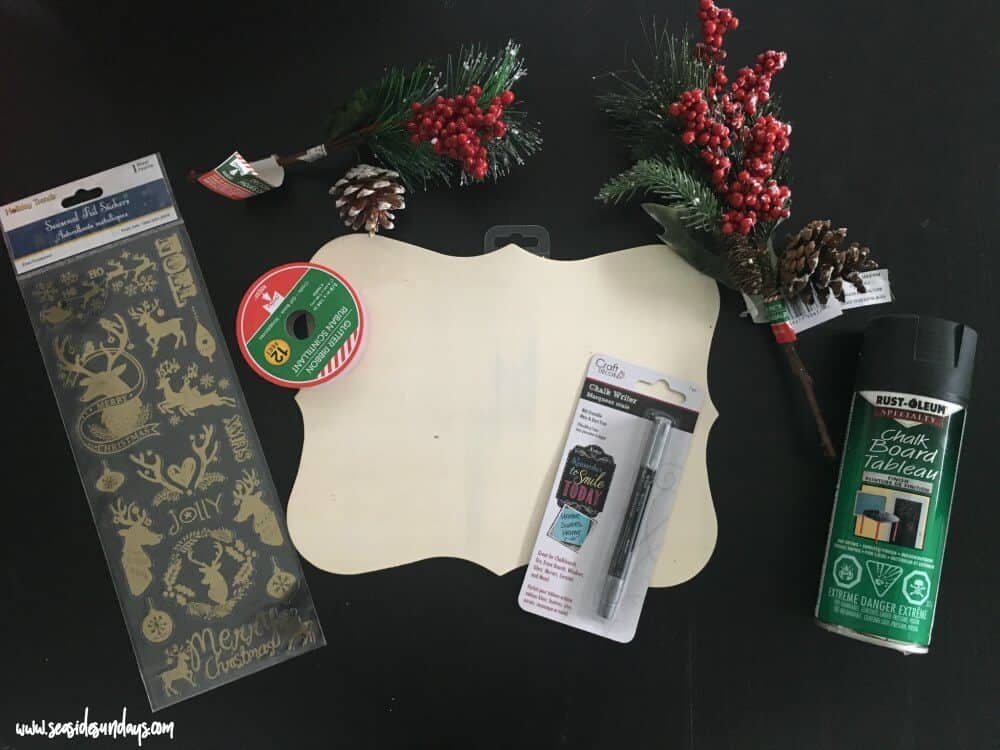
- Chalkboard paint or a small chalkboard
- Wooden sign
- Chalk or a chalk pen in the colour of your choice.
- Christmas decorations (swag, berries, glitter and decals)
Directions
1.If you are using a plain wooden sign for your chalkboard sign, the first thing you need to do is paint it with chalkboard paint. You can easily get spray paint for your chalkboard at local hardware stores.
2. Once the paint is dried, it’s time to decorate your chalkboard. Use hot glue to fix your swag or ribbons to your sign however you feel.
3. Once you are happy with your decorations, you can choose what you want to write on your sign.
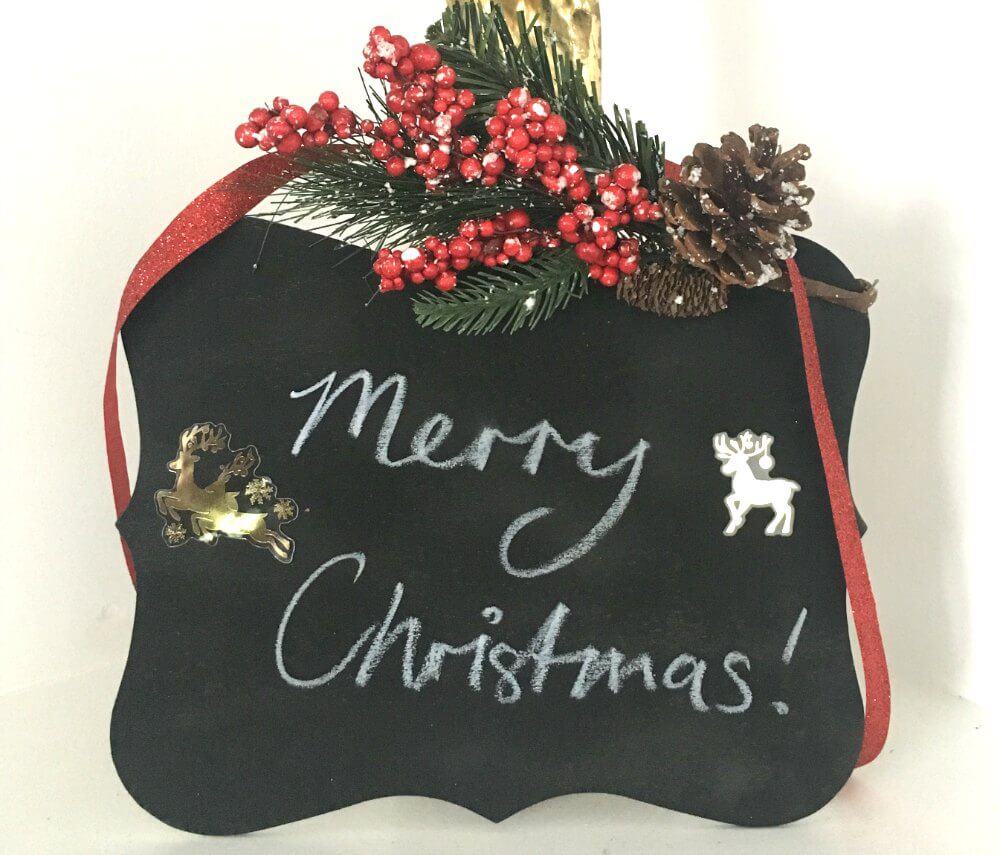
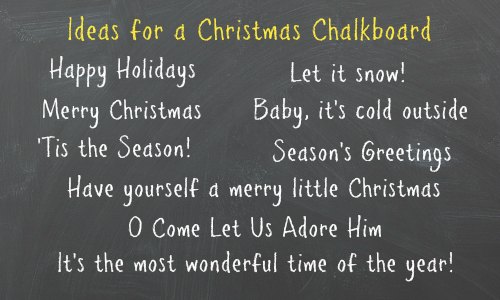
Some ideas for your chalkboard sign
You can write whatever you want your on your sign and the great thing is, you can change it up as the season goes on.
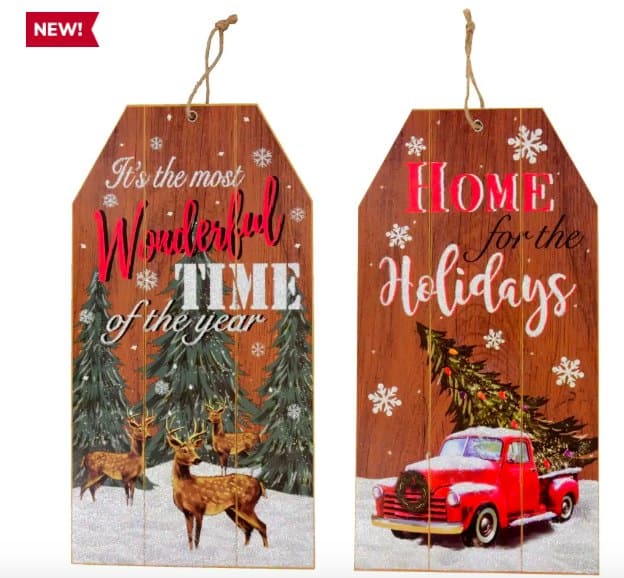
Oh and if you want to get a cute wooden sign for your front porch or mantel, make sure to check out the collection of wooden Christmas tags at DollarTree, they are so cute!
More Christmas Ideas:
10 Creative Christmas Photos you can do at Home
Free Printable Christmas Scavenger Hunt for Kids

